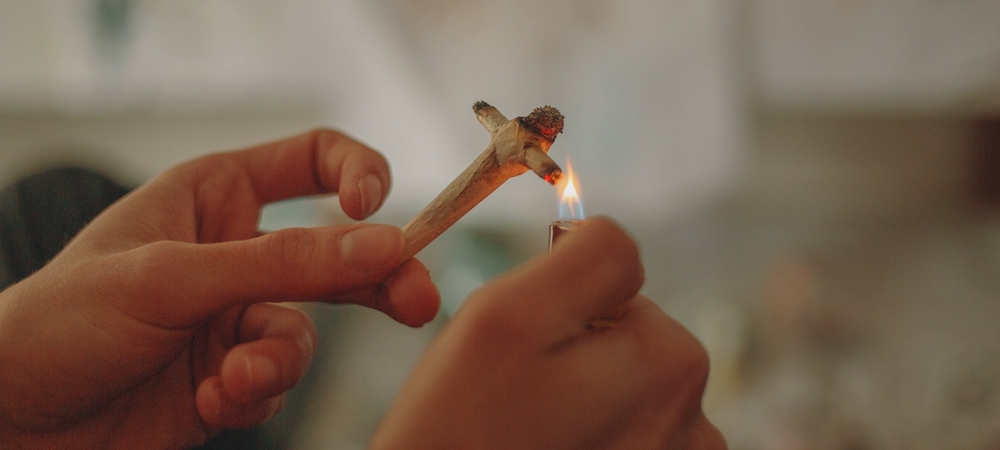
Mastering the Art of Rolling a Cross Joint
Rolling a cross joint, famously popularized by the movie “Pineapple Express,” has become a symbol of both cannabis culture and creativity.
While it might seem like a complex task, with a little practice and patience, anyone can learn to roll this distinctive joint.
We’ll provide a step-by-step guide on how to roll a cross joint, so you can impress your friends at the next gathering.
Step 1: Gather Your Supplies
Before you start, gather all the necessary supplies. You’ll need three rolling papers, one for the main joint and two for the “arms” of the cross.
Make sure your rolling papers are standard-sized and in good condition.
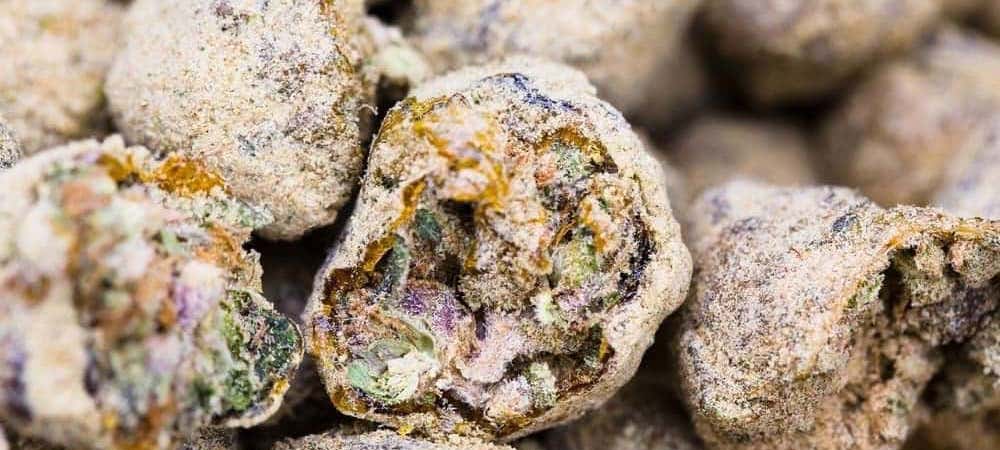
Additionally, prepare your preferred cannabis strain and a grinder to break down the herb into a consistent texture. We recommend using the strains Blue Iguana, Cakelicious or if you don’t have a grinder, the Indica 30 Plus Grind.
Step 2: Prepare the Main Joint
Begin by rolling the main joint, which will serve as the center of the cross. Grind your cannabis, ensuring it’s not too fine to prevent uneven burning.
Spread the ground herb evenly across the rolling paper, shaping it gently with your fingers into a cylindrical form.
Evenly distribute the cannabis to avoid any weak points that could lead to an uneven burn.
Step 3: Create the Cross Arms
To form the cross arms, take one of the additional rolling papers and cut it in half lengthwise.
Use the cut halves as the arms of the cross. To prepare each arm, roll them as you would a regular joint, but keep them a bit tighter to ensure they burn smoothly and won’t unravel.
Step 4: Attach the Cross Arms
Now, it’s time to attach the cross arms to the main joint. Using a tool such as a paperclip or a small stick, create small holes at the ends of the main joint.
Ensure the holes are big enough to insert the arms without tearing the paper.
Gently insert the ends of the cross arms into the holes, making sure they are stable and securely attached to the main joint.
Step 5: Seal the Cross Joints
To reinforce the cross joints, you need to seal them properly. Lick the exposed adhesive strip on the main joint and fold it over the ends of the cross arms.
This will help secure the arms in place and make the entire structure more stable. Make sure to smooth out any wrinkles or creases in the paper during this process.
Step 6: Pack and Taper the Cross Joint
Before you light your cross joint, give it a gentle tap on a flat surface to settle the cannabis inside and ensure an even burn.
Additionally, use your fingers to gently taper the ends of the cross arms, making them slightly thinner than the center. This step helps the joint burn more evenly and reduces the risk of canoeing.
Final Notes
Rolling a cross joint might seem like a daunting task, but with the right materials and a steady hand, you can easily create this unique and eye-catching masterpiece. Remember to be patient with yourself as you practice and refine your technique.
Now that you know how to roll a cross joint, invite your friends over for a memorable smoking session and show off your newly acquired skill. Happy rolling!